欢迎访问青州市东方包装设备有限公司官方网站! 爱游戏app官网登录入口-爱游戏app官网 | 爱游戏app官网登录入口的产品中心 | 联系爱游戏app官网登录入口
欢迎访问青州市东方包装设备有限公司官方网站! 爱游戏app官网登录入口-爱游戏app官网 | 爱游戏app官网登录入口的产品中心 | 联系爱游戏app官网登录入口
hot search
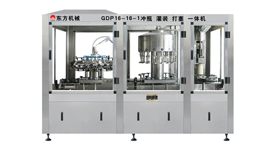
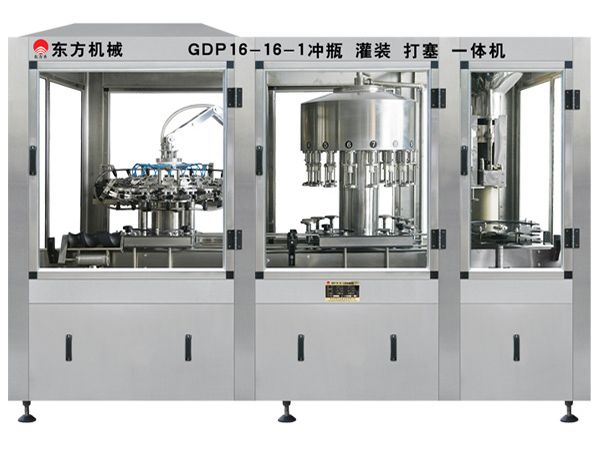
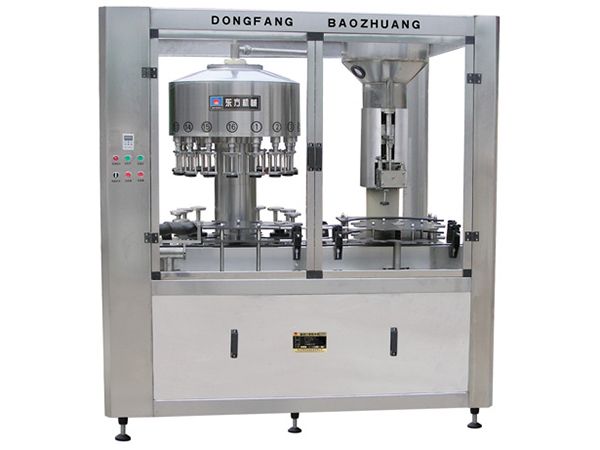
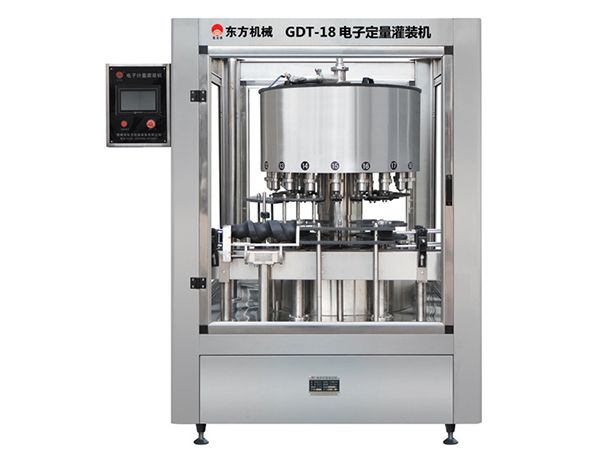
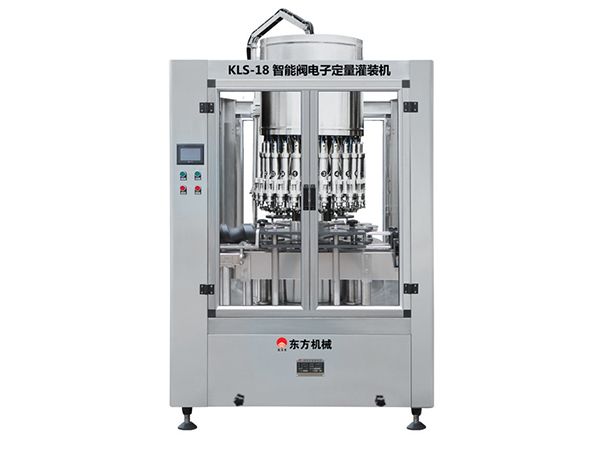
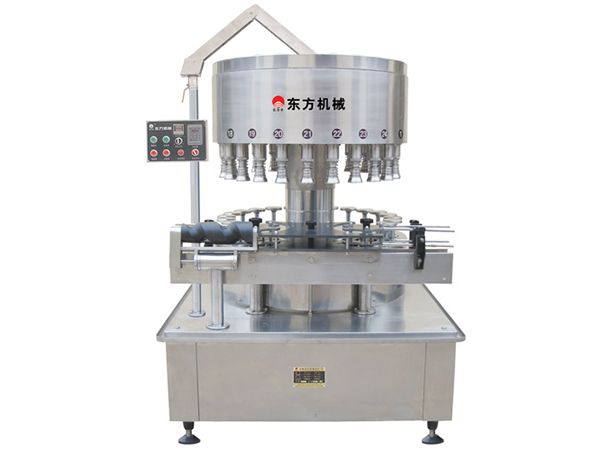
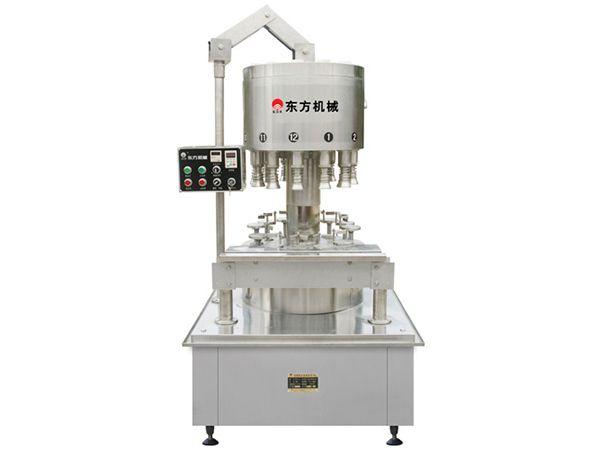
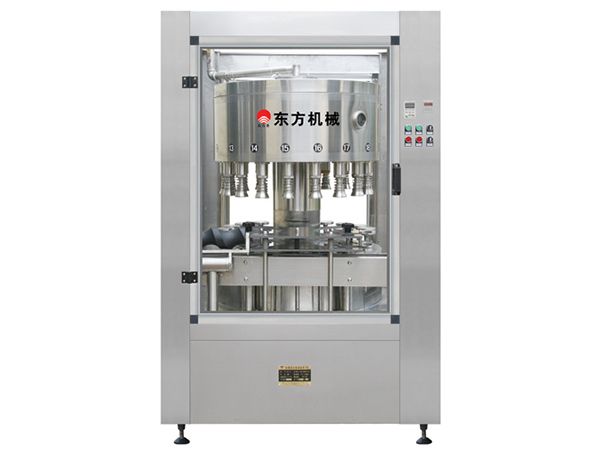
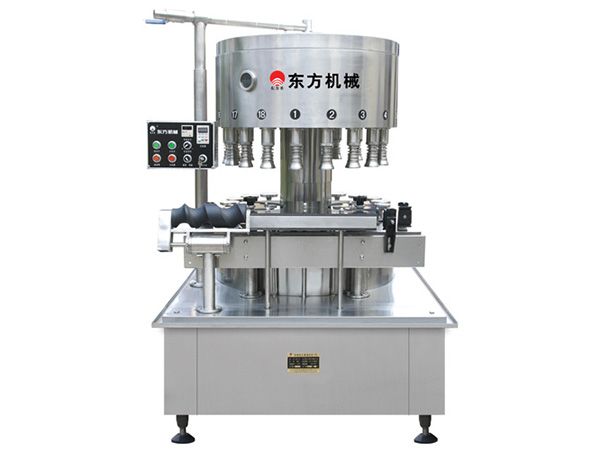
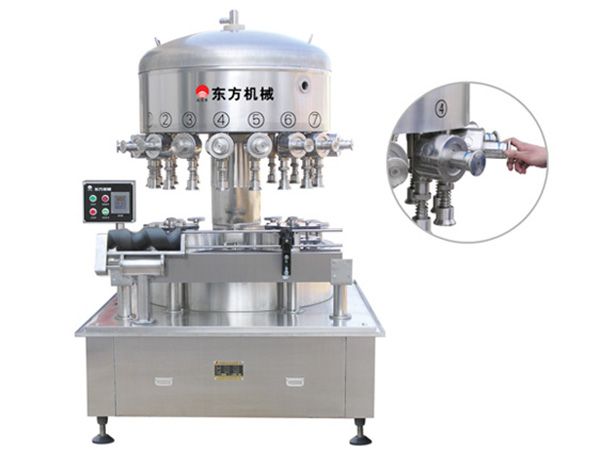
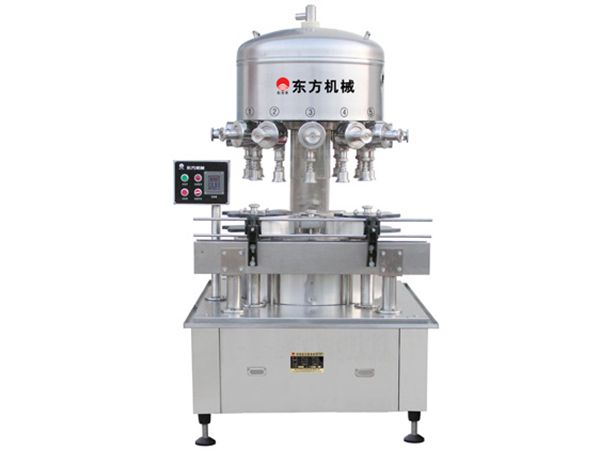
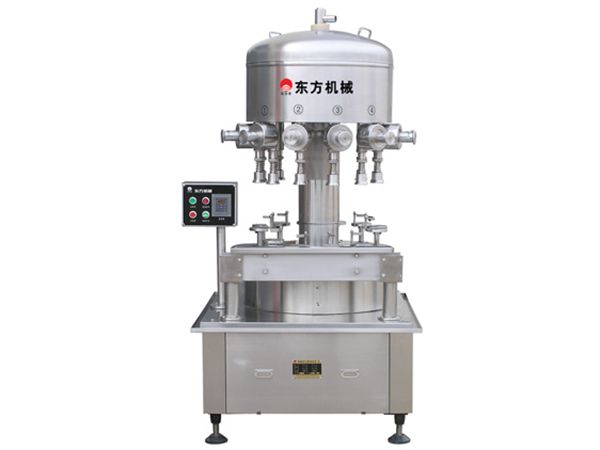
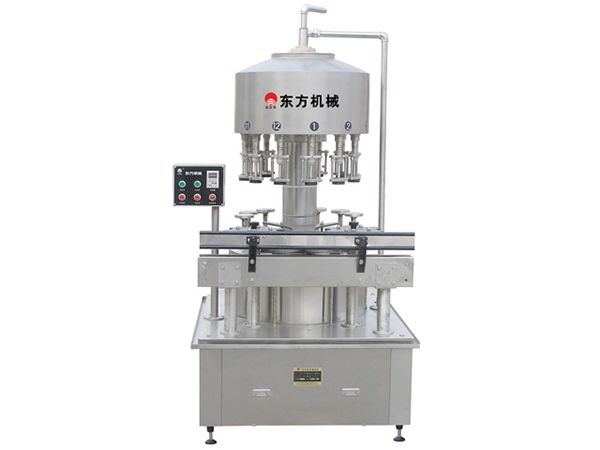
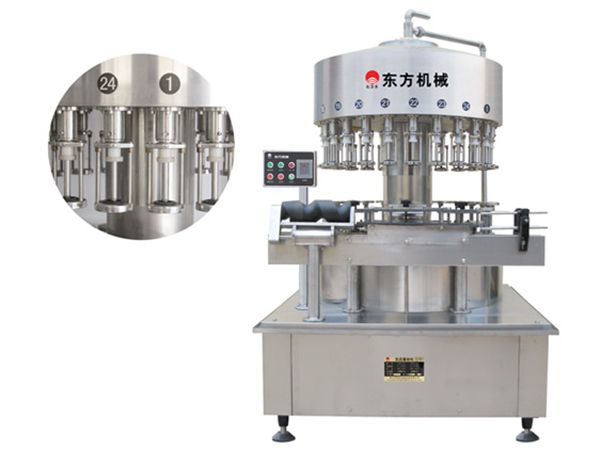
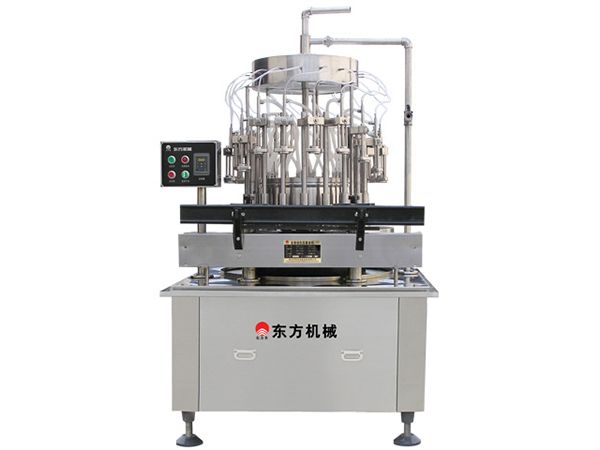
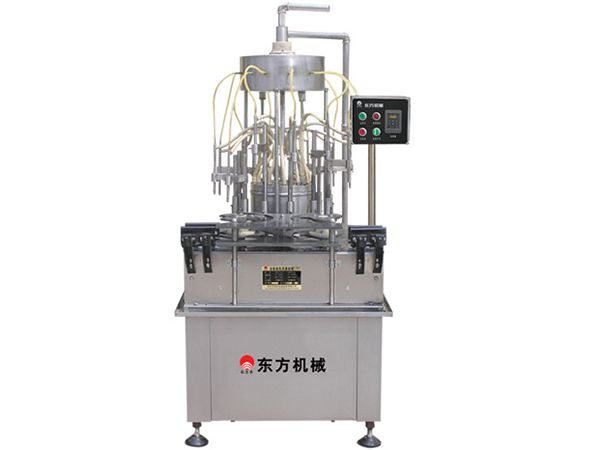
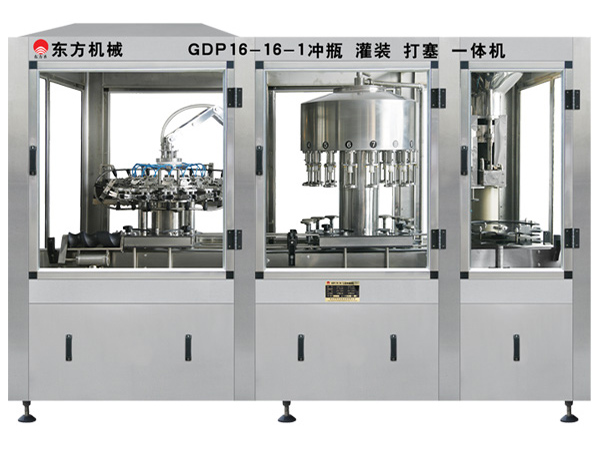
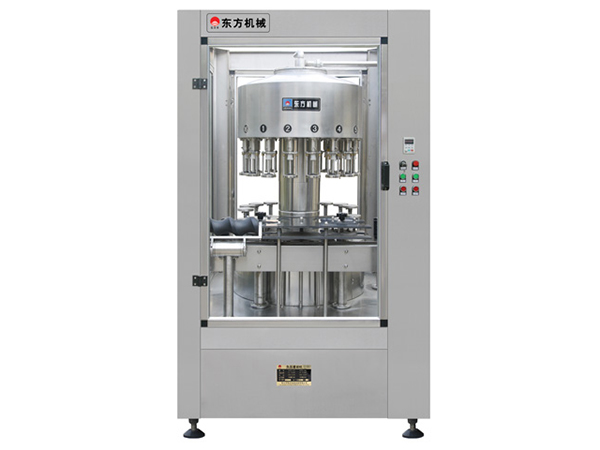
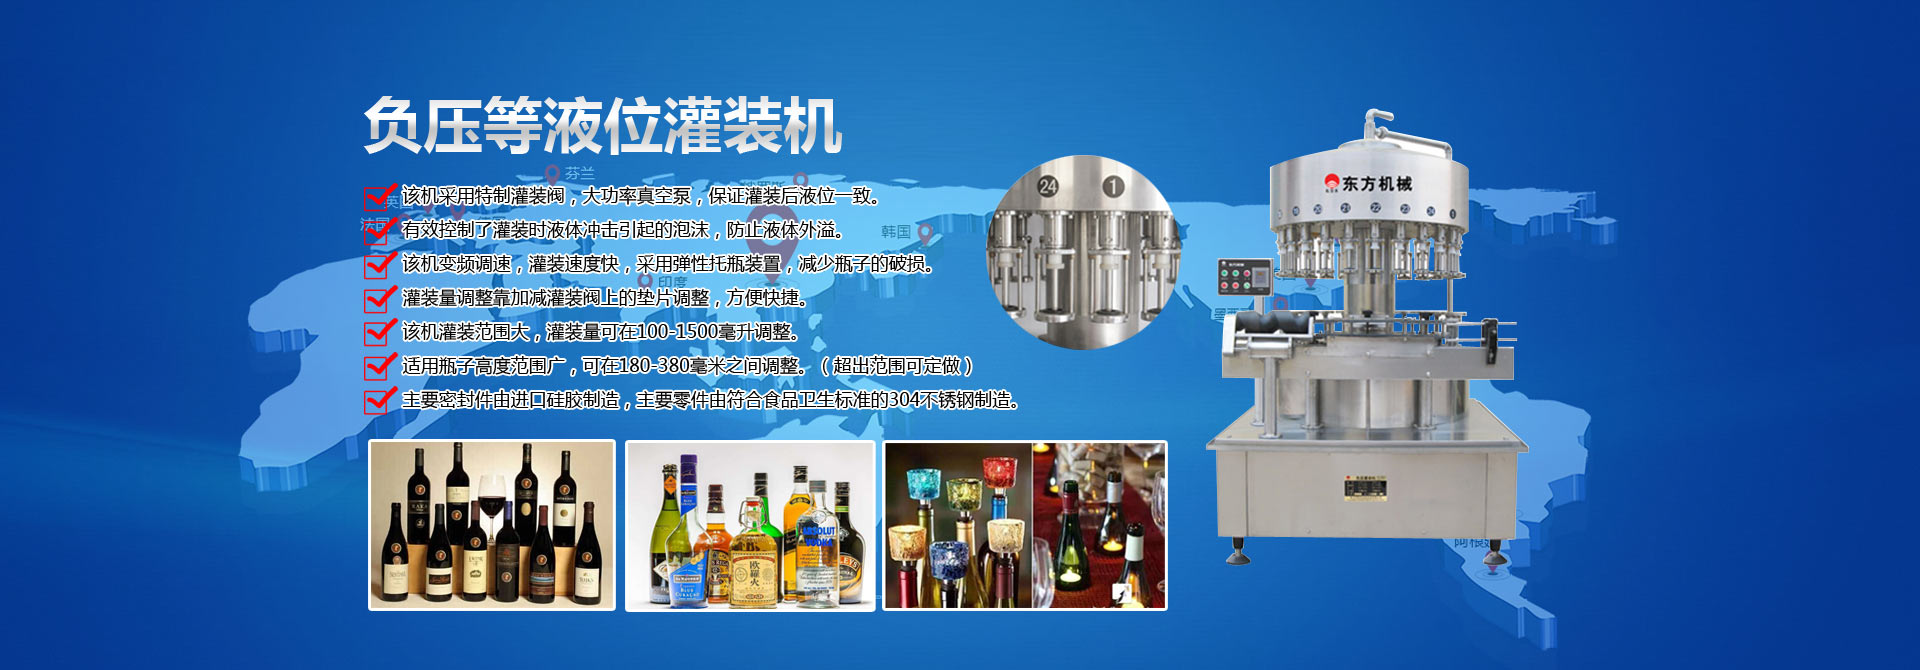
灌装机 打塞机 热缩机 封口机 冲瓶机 烘干机 贴标封箱机
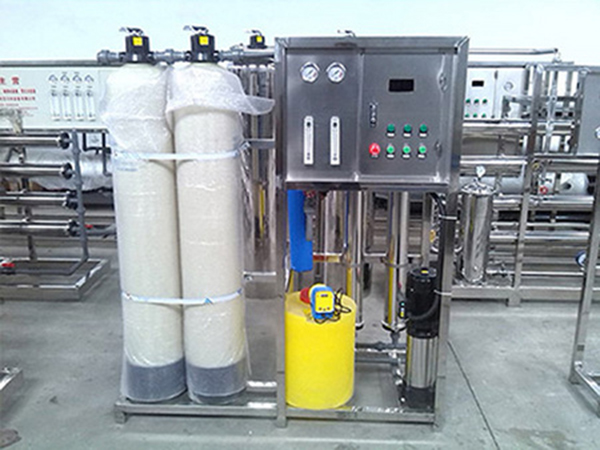
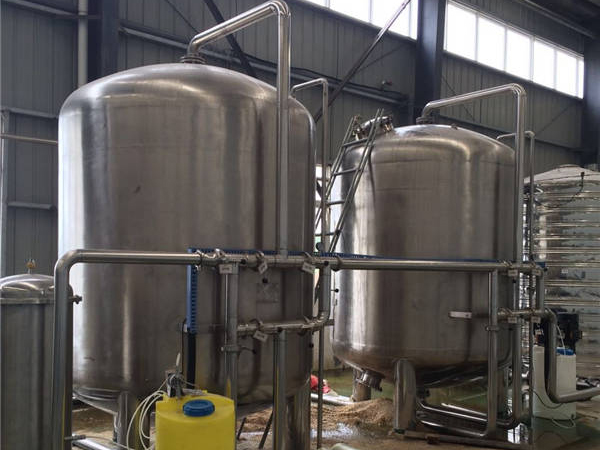
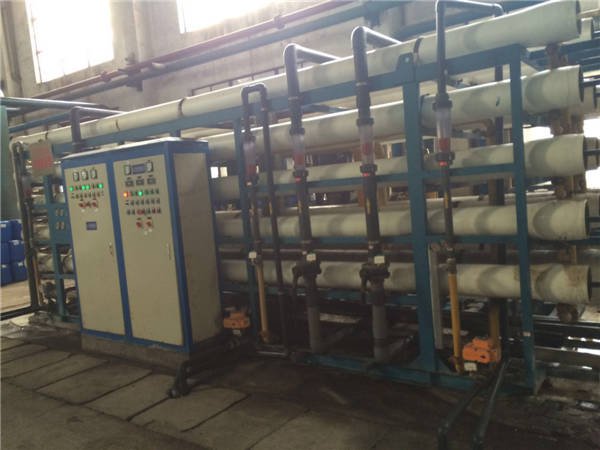
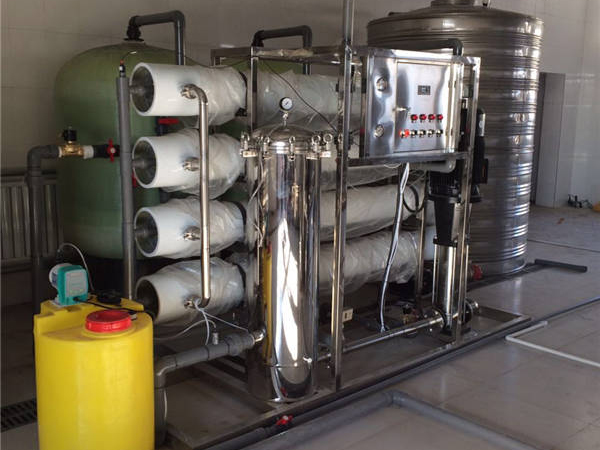
刷瓶机 灌装生产线 水处理设备 过滤设备
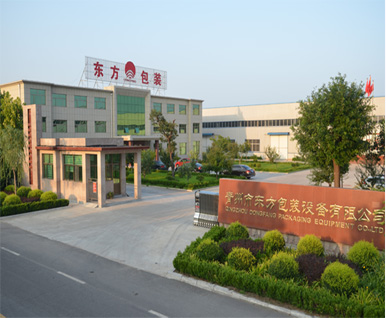
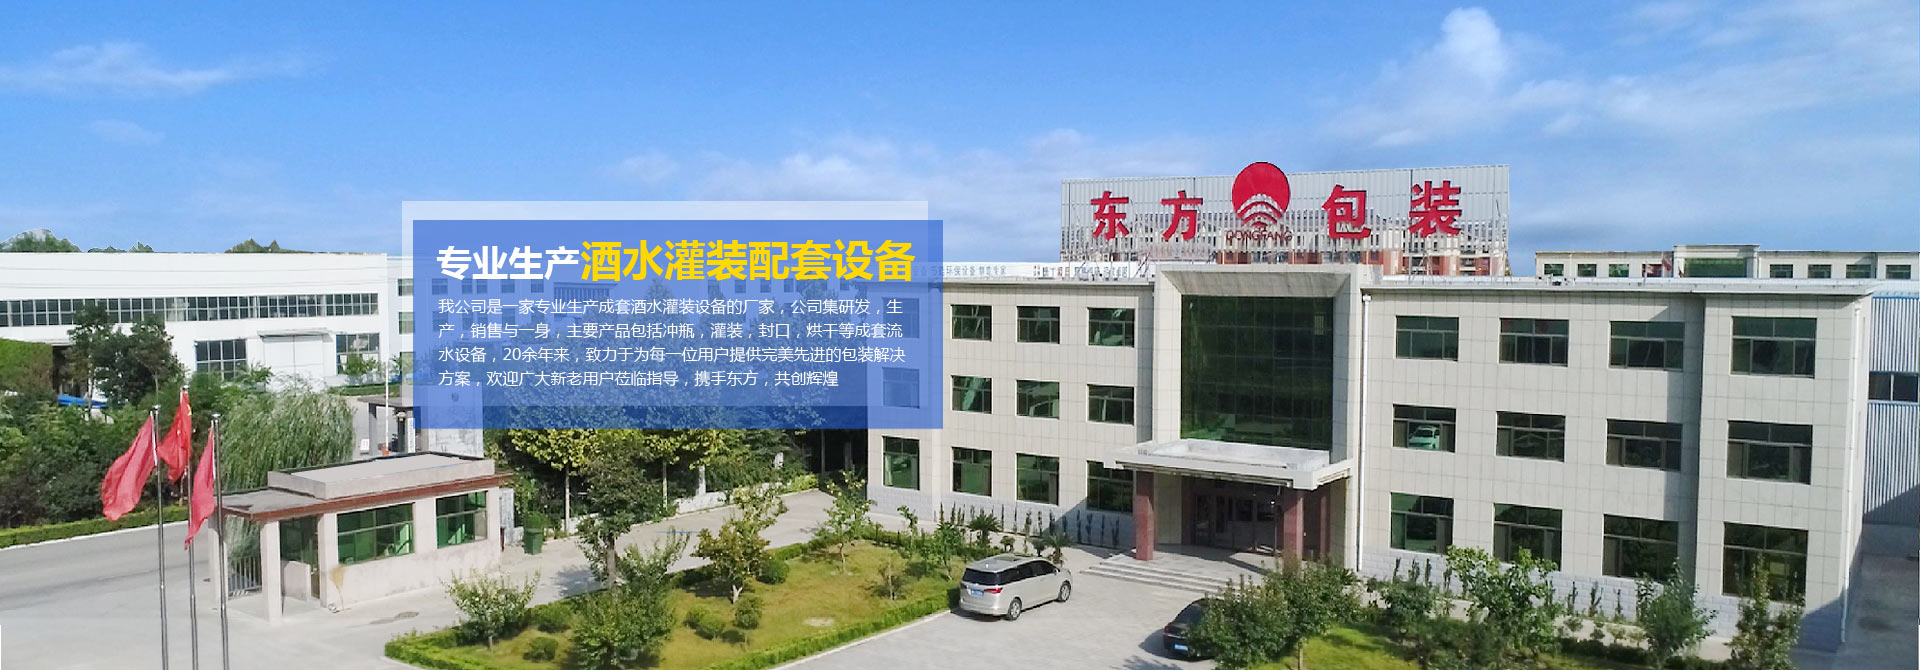
青州市东方包装设备有限公司座落在古九州之一的历史文化古城—青州,北靠胶济铁路和济青高速,交通十分方便。
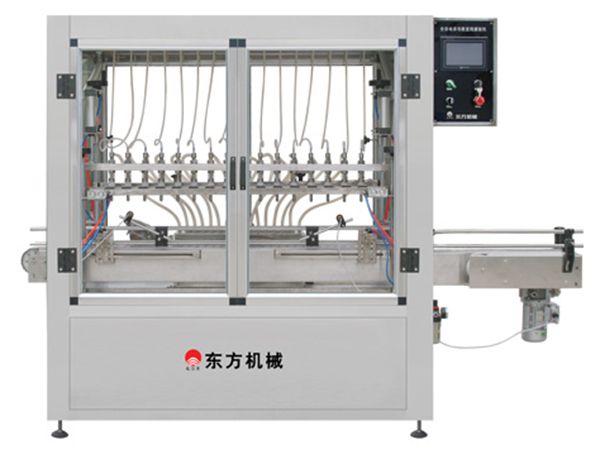
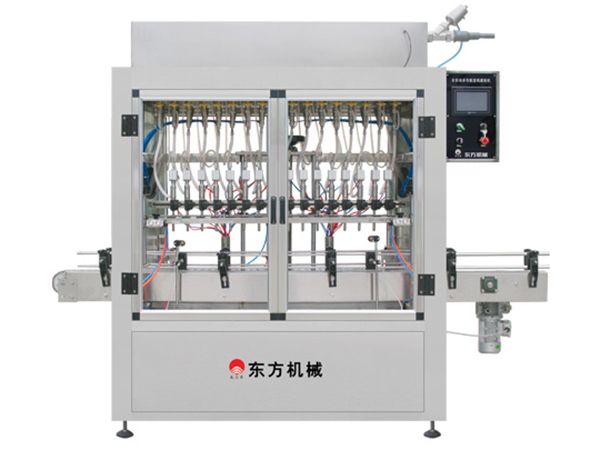
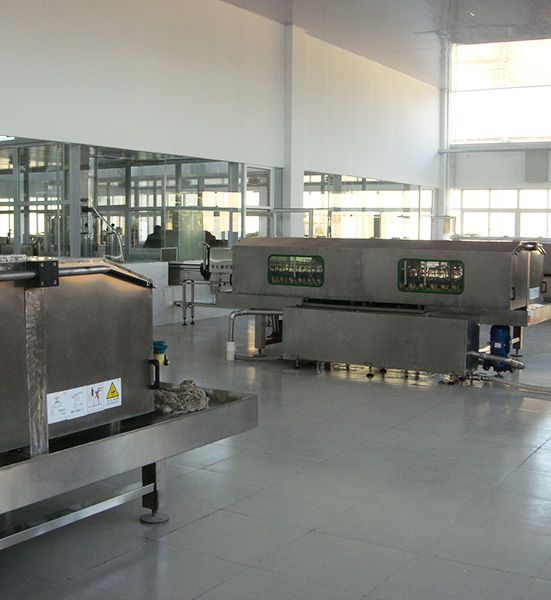
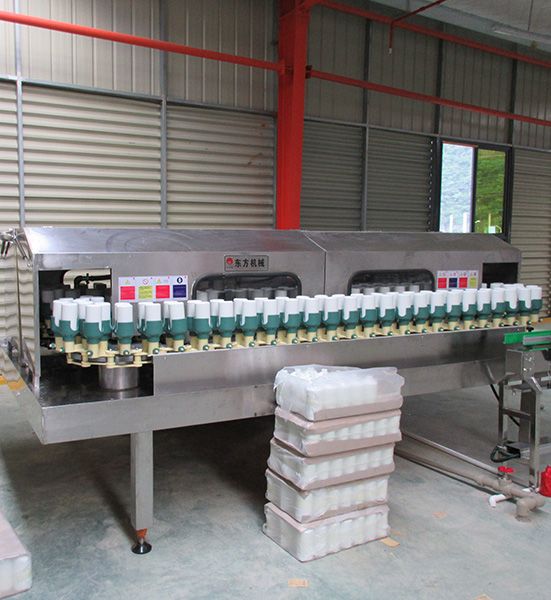
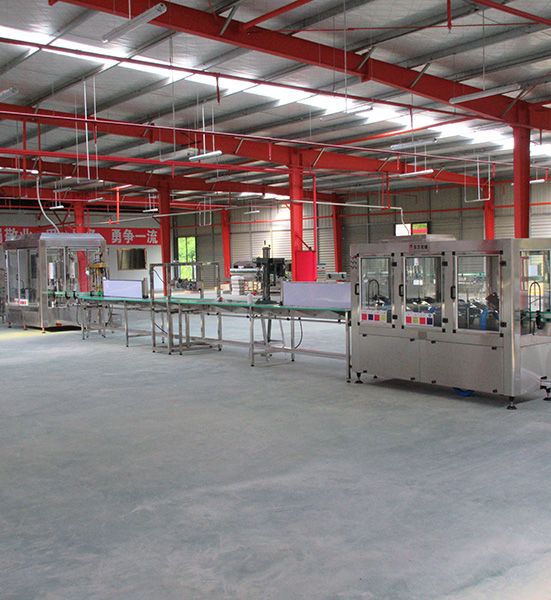
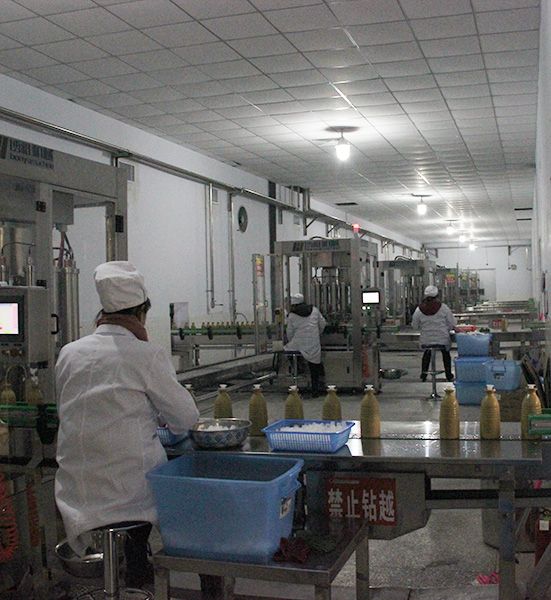
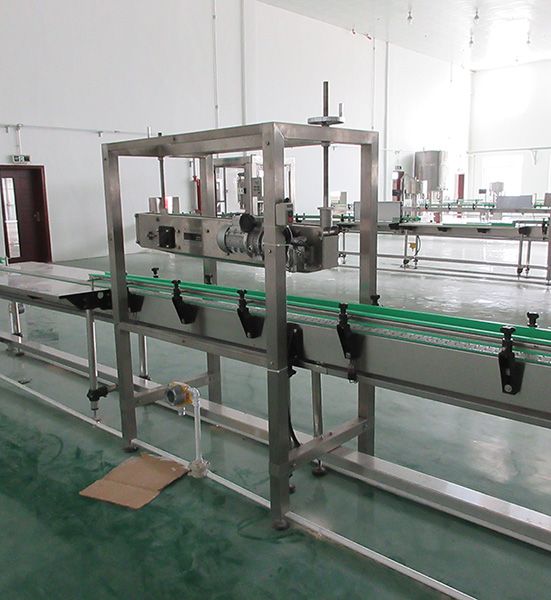
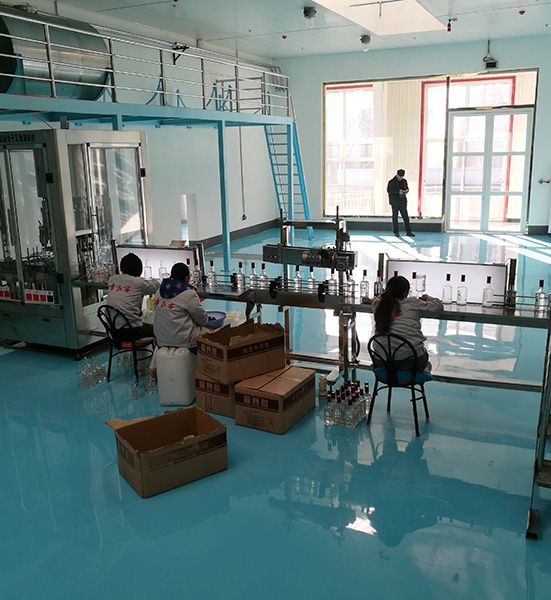
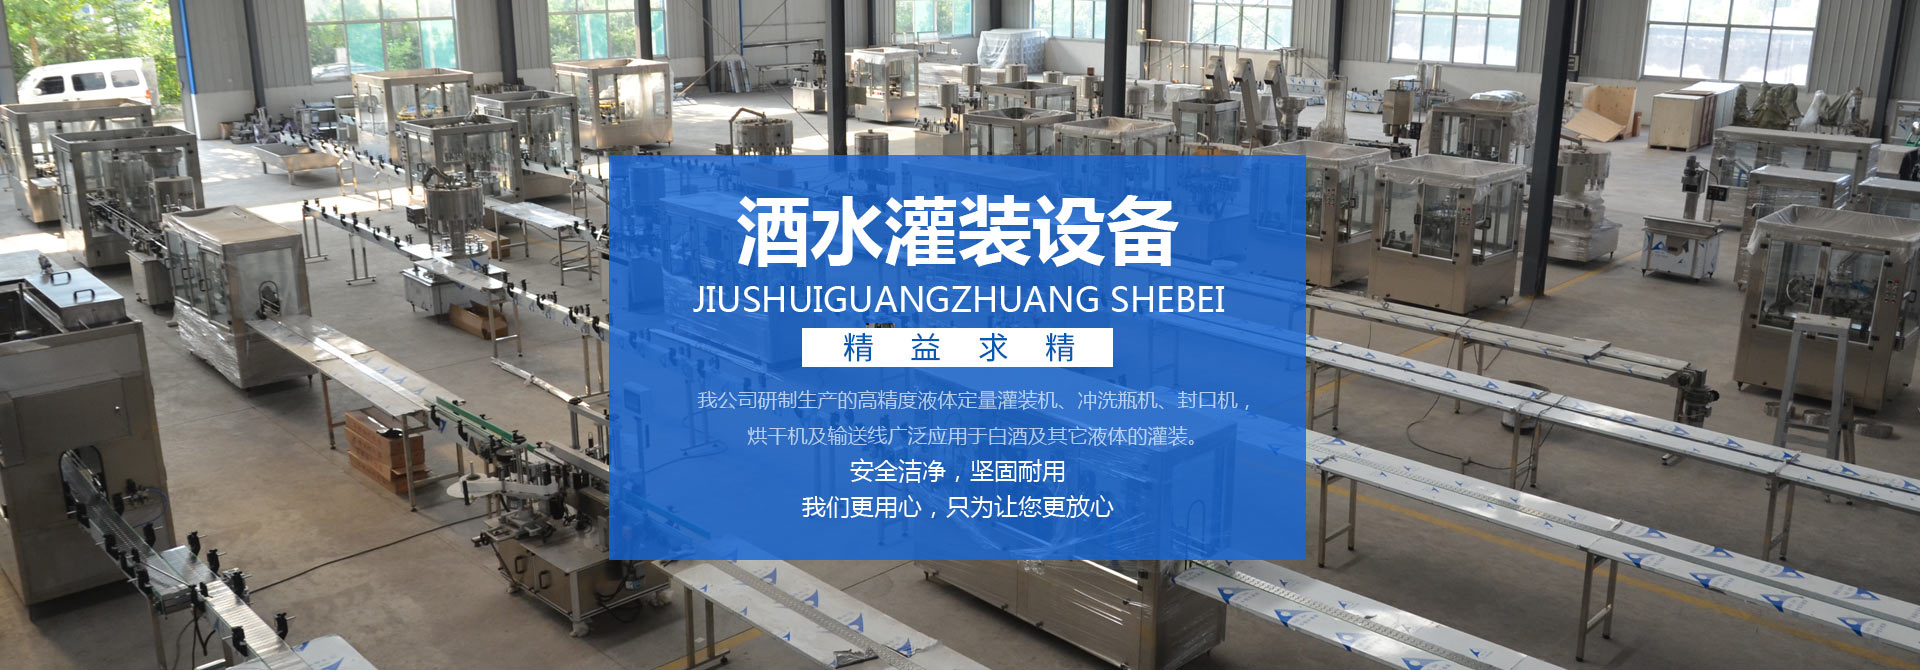
我公司是专业研制生产灌装机械的企业,多年来,我公司研制生产的高精度液体定量灌装机、冲洗瓶机、封口机,烘干机及输送线广泛应用于白酒及其它液体的灌装。同时对于葡萄酒、果酒、黄酒、调味品等液体的灌装。公司拥有专用的负压灌装机,打塞机,胶帽热缩机,封箱机等设备,…

青州市东方包装设备有限公司
销售一部 王经理:15684206326
销售二部 姚经理:13176722339
电话:0536-3539882 0536-3206831
传真:0536-3206831
地址:山东省青州市经济开发区康圣路

2017-10-18
前些天,美国疯抢辣椒酱的场面相信大家久久不能忘怀。在美国,辣椒酱是有什么样的魔力这么吸引人。我国是一个善用酱料进行调味的…
2017-10-18
我国是人口大国,在日常生活中处处离不开食用油,每年我国所需食用油的量可想而知有多么巨大。目前,油菜籽、大豆、花生、棉籽、…
2017-10-18
首先.液体包装机机器不能启动:1.接通电源、打开电源开关、检查保险丝。2.释放急停按扭。3.接通气压,保持在6公斤左右。…
爱游戏app官网 copyright©2017-2020 青州市东方包装设备有限公司 爱游戏app官网登录入口的版权所有 鲁公网安备 37078102000034号 ![]()
![]()